At least, for me. Now I have to code something that enables me to select banks and instruments on my synth module. I’ve settled for pyliblo to talk to ZynAddSubFX but I’m just no coder. My elbow now rests on “Learning Python” from O’Reilly, I started reading it like a year ago but never got past chapter 3 or something. Time to persist, I’ve been wanting to be able to code a little bit for years now.
As a note to self, and maybe it’s helpful for others too, what follows are some of the relevant OSC messages to change banks and instruments in ZynAddSubFX.
Changing banks can be done with /loadbank. pyliblo comes with an example script send_osc.py and loading a bank with send_osc.py works as follows:
send_osc.py 7777 /loadbank ,i 3
7777 is the port ZynAddSubFX runs on. The /loadbank message wants an integer (,i) and ,i 3 loads the fourth bank (Choir and Voice) as ZynAddSubFX starts counting from 0. Bear in mind that this will only load the bank, it won’t change the instrument that is loaded. To load an instrument from a loaded bank the following send_osc.py incantation does the trick:
send_osc.py 7777 /setprogram ,c $'\x03'
So /setprogram loads an instrument from an active bank. It takes a character (,c) as an argument because the program numbers are in hex. But hex are multiple characters so you have to add some escape sequences to make it work (and I lost it there so I could be completely wrong). The above command should load the fourth instrument from the Choir and Voice bank (Voice OOH) as that bank should have been loaded by the previous /loadbank message.
It is also possible to load instrument (.xiz) files. This can be done with the /load_xiz message:
send_osc.py 7777 /load_xiz 0 "/usr/share/zynaddsubfx/banks/Bass/0001-Bass 1.xiz"
This will load the Bass 1 instrument fom the Bass bank into part 1 (remember that ZynAddSubFX starts counting from 0). So to load the Bass 2 instrument into part 2 you’d do the following:
send_osc.py 7777 /load_xiz 1 "/usr/share/zynaddsubfx/banks/Bass/0002-Bass 2.xiz"
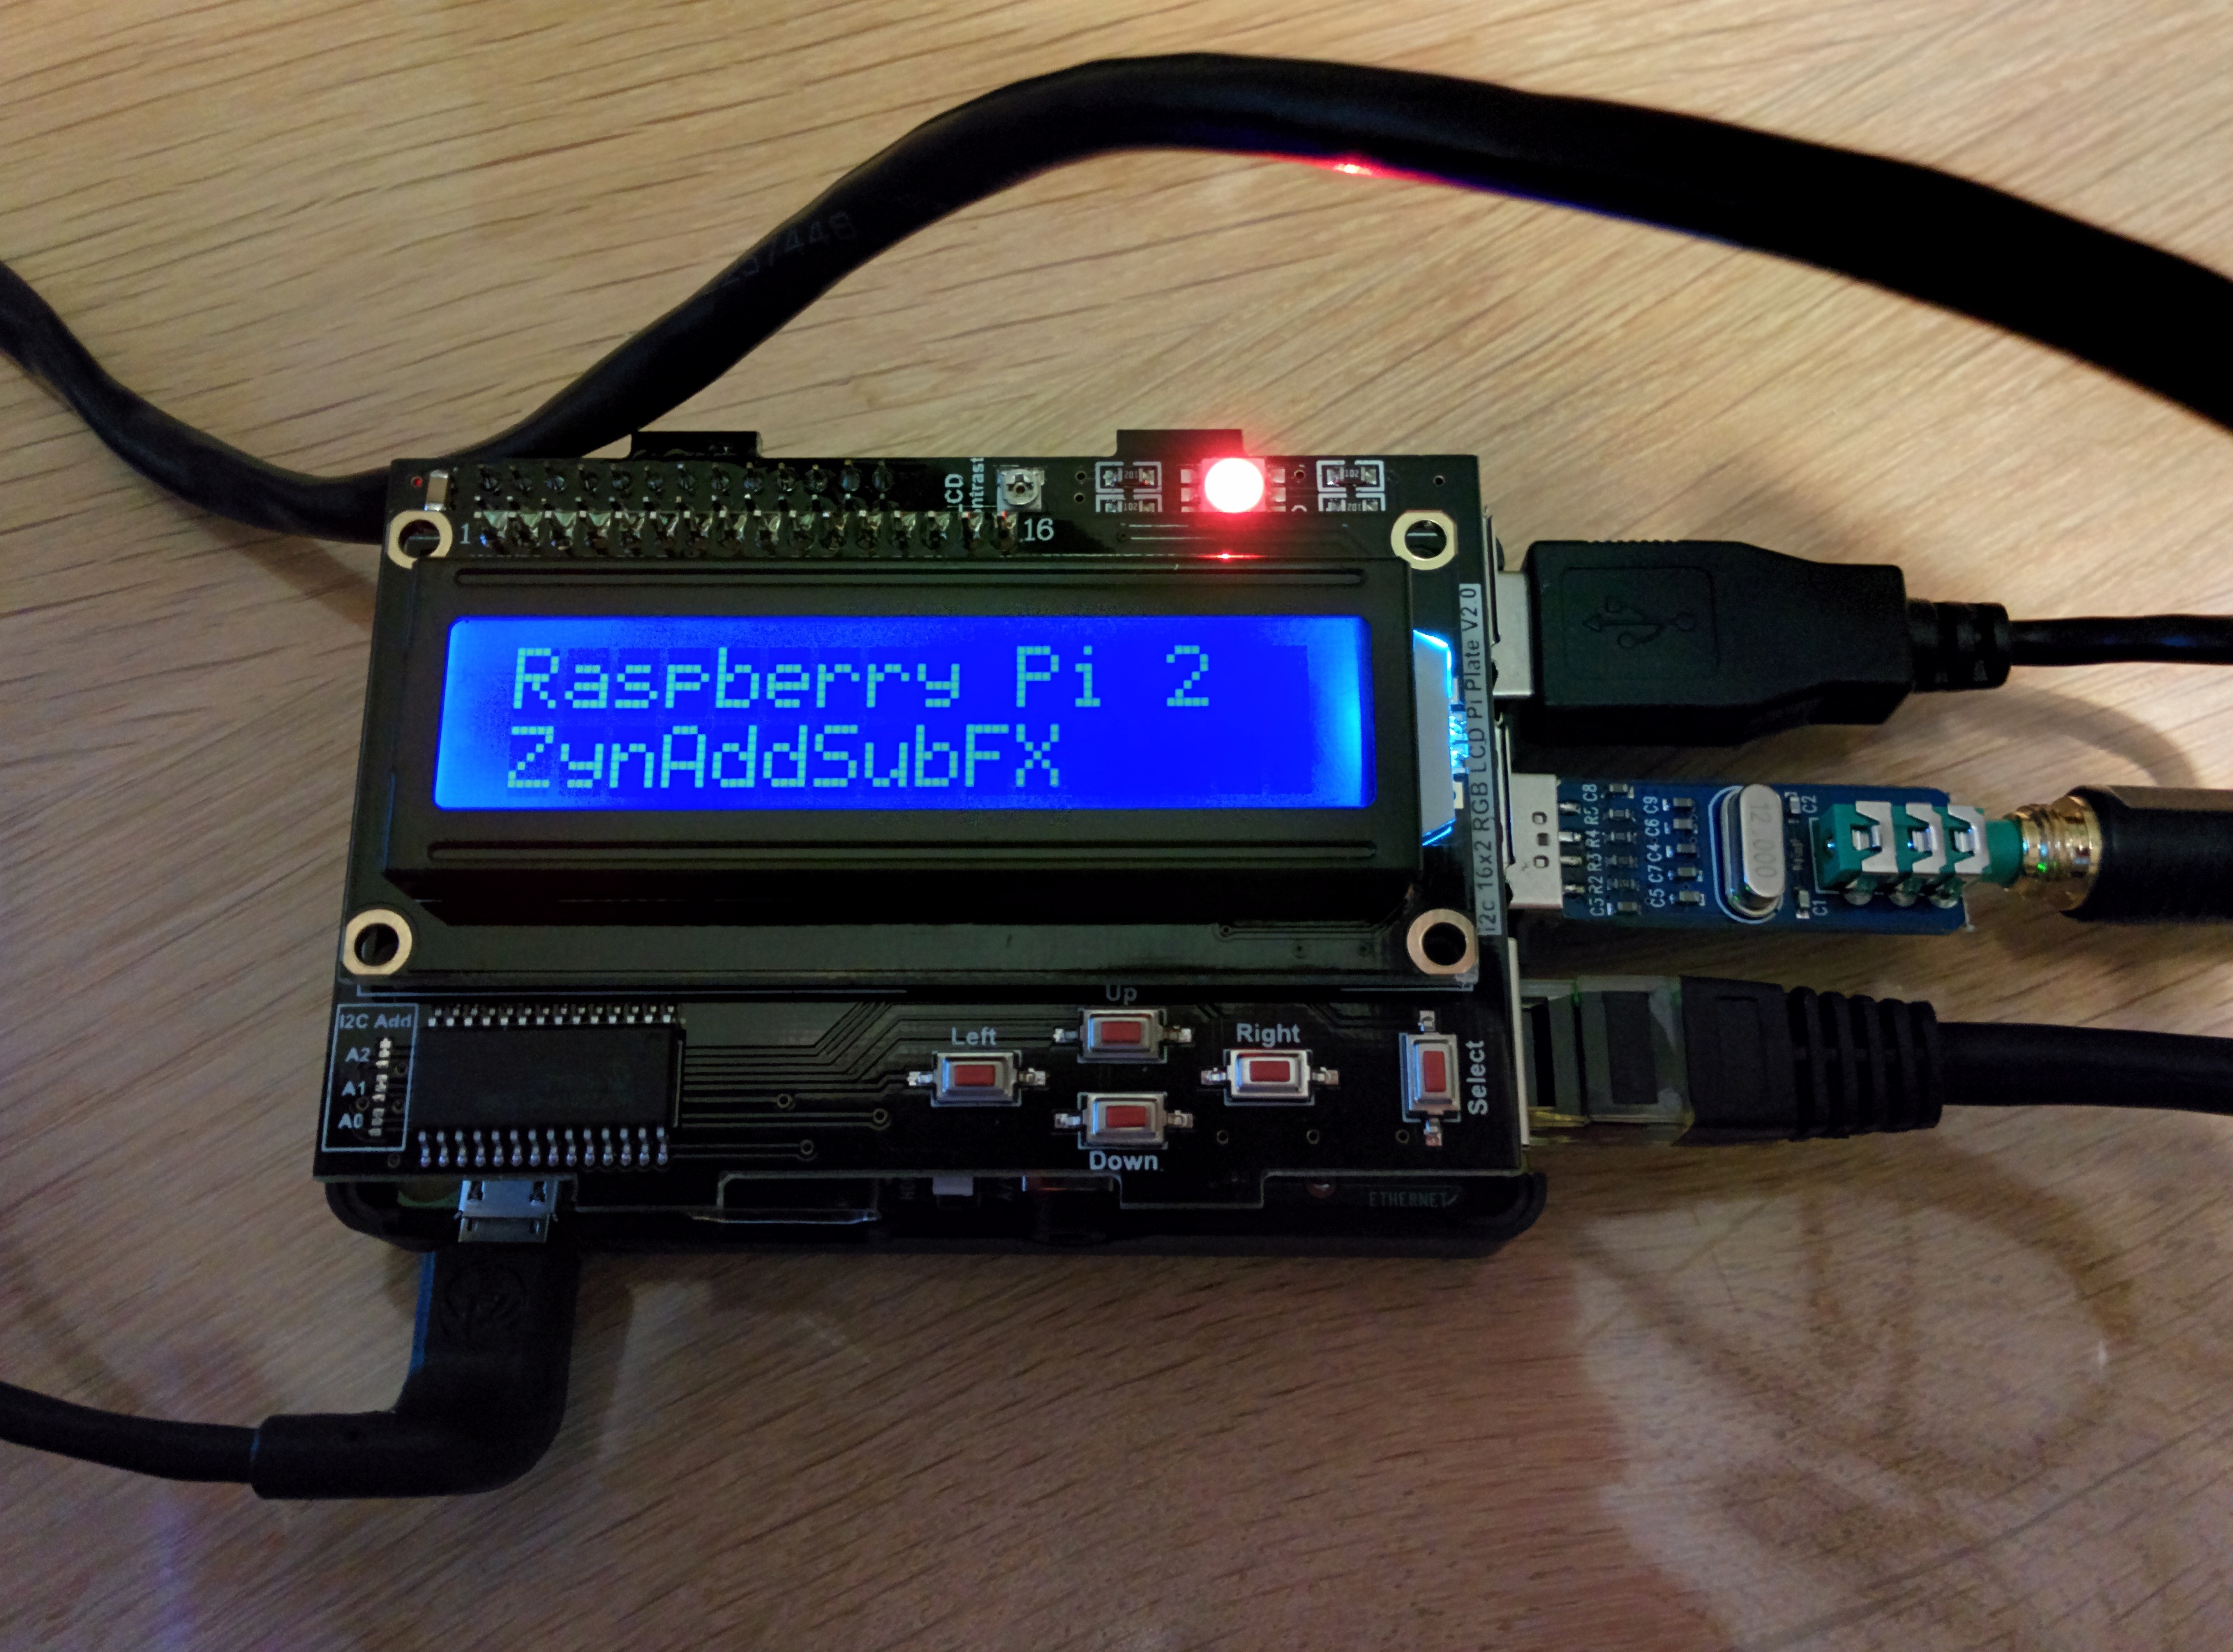
So now I have to incorporate this stuff into Python code that gets called when I press buttons on my LCD display. These are the mappings I’d like to accomplish:
- Up: toggle next bank and display first instrument from that bank
- Down: toggle previous bank and display first instrument from that bank
- Left: toggle previous instrument and display instrument
- Right: toggle next instrument and display instrument
- Select: select displayed instrument
That shouldn’t be too hard right? Well, first hurdle, pyliblo can only send or dump OSC messages, it doesn’t seem to be able to handle return messages from the OSC server (ZynAddSubFX in this case). To be continued…
Edit: of course sending just messages with pyliblo won’t handle any return messages, you will need a receiving part. But maybe I should take a look at using MIDI with mididings for instance. Thanks Georg Mill for the tip!