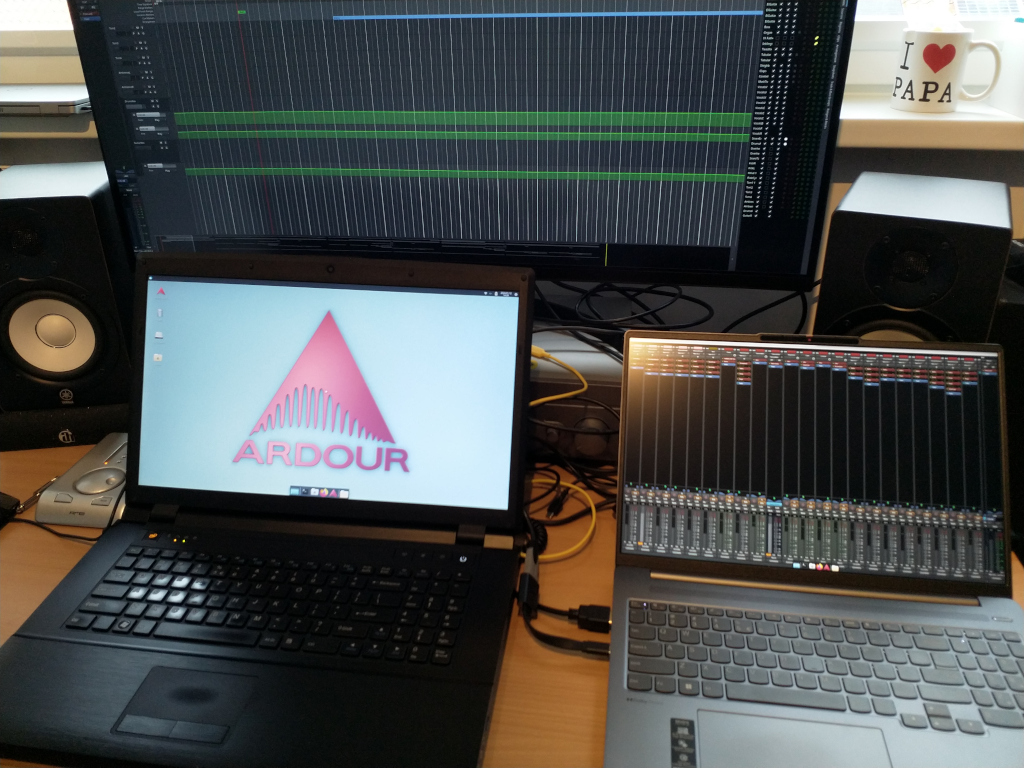
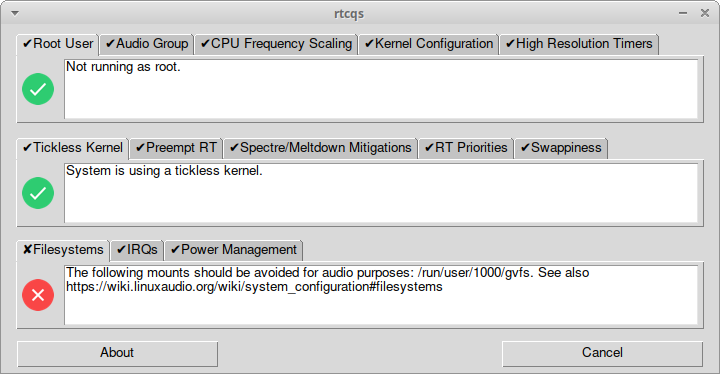
Configuring this new machine took some effort but it can now run reliably with a few milliseconds of latency. First thing I did was installing a liquorix kernel as I have a good experience with those. Added the threadirqs kernel option to /etc/default/grub and updated the Grub configuration with sudo update-grub. After a reboot I was greeted with threaded IRQ’s.
Next step was to prioritize the desired IRQ’s, highest prio for the USB bus to which my audio interface is connected and also a high prio for the onboard audio. I decided to go the custom route as the tool I normally use for this, rtirq, prioritizes all USB threads and I only want the USB threads prioritized that do the audio work. Additional challenge was that these IRQ’s change on every boot. Concocted the following script snippet.
#!/bin/bash

# Prioritize USB port with sound card attached
# Since IRQ's change on every boot figure out IRQ dynamically

# Set maximum priority of the IRQ thread
prio=90

# Next IRQ thread found will get a priority
# decreased with the value set below
prio_step=5

# System paths to look for information
proc_path=/proc/asound
sys_pci_bus_path=/sys/class/pci_bus

# The logic - A for loop that does the following:
# * Iterates through all cards that are set by ALSA
# * Determines if it's an USB card
# * Sets priority on IRQ thread if this is the case,
    lowest card number gets the highest priority
for card_number in $(awk '/\[.*\]/ {print $1}' /proc/asound/cards); do

  if [ -e "$proc_path/card$card_number/usbid" -a -e "$proc_path/card$card_number/stream0" ]; then
    snd_dev_card=card$card_number
    snd_dev_pci_bus_ref=$(grep -Eo "usb-[^[:space:],-]+" $proc_path/$snd_dev_card/stream0 | sed "s/usb-\(.*\)/\1/")
    snd_dev_pci_bus_ref_short=$(awk -F ':' '{print $1":"$2}' <<<$snd_dev_pci_bus_ref)
    snd_dev_irq=$(cat $sys_pci_bus_path/$snd_dev_pci_bus_ref_short/device/$snd_dev_pci_bus_ref/irq)
    snd_dev_irq_pid=$(pgrep $snd_dev_irq-xhci)

    chrt -f -p $prio $snd_dev_irq_pid

    prio=$((prio-prio_step))
  fi

done
This snippet assumes the card numbers are set properly by assigning each card their own index value through the snd-usb-audio kernel module. This can be done with a file in /etc/modprobe.d/, i.e. /etc/modprobe.d/audio.conf. For my USB devices the relevant line in this file looks like this:
# RME Babyface, Edirol UA-25, Akai MPK Mini, Arturia BeatStep Pro, Behringer BCR2000
options snd-usb-audio index=0,1,5,6,7 vid=0x0424,0x0582,0x09e8,0x1c75,0x1397 pid=0x3fb7,0x0074,0x007c,0x0287,0x00bc
So my RME Babyface gets the lowest index (card number) and thus the highest real-time priority.
For onboard audio the situation was a bit trickier. The Lenovo comes with three different audio devices:
- Onboard audio, speakers and TRRS jack
- Digital audio, HDMI
- Onboard mic
I wanted to index all properly so they don’t get in the way of my USB devices. For the onboard audio and HDMI this was no problem, adding the following line to /etc/modprobe.d/audio.conf was enough:
# Onboard audio
options snd-hda-intel index=10,11
Unfortunately you can’t discern between multiple devices with the snd-hda-intel driver and in my case both cards also have no model name so they show up as HD-Audio Generic cards with ID names Generic and Generic_1. Not very helpful. Luckily you can assign ID names dynamically after boot so I used that to give each card a proper ID name:
# Assign proper ID's to onboard devices
# Device with vendor ID 1002 is HDMI
# Device with vendor ID 1022 is onboard audio
for card in card{10,11}; do

  if grep -q 1002 /sys/class/sound/$card/device/vendor; then
    echo -n HDMI > /sys/class/sound/$card/id

  elif grep -q 1022 /sys/class/sound/$card/device/vendor; then
    echo -n ALC257 > /sys/class/sound/$card/id

    # Prioritize IRQ of onboard audio
    snd_dev_irq=$(cat /sys/class/sound/$card/device/irq)
    snd_dev_irq_pid=$(pgrep $snd_dev_irq-snd_hda_intel)

    chrt -f -p $prio $snd_dev_irq_pid
  fi

done
Now both cards can be used with their ID names (so hw:ALC257 for instance) and the onboard audio device gets prioritized with the $prio value set earlier on. Now the only culprit remaining was the onboard mic.
The onboard mic, which gets ID name acp63, is driven by a kernel module with the name of snd-soc-ps-mach. Now this module doesn’t take the index parameter so enter the slots parameter for the top level snd kernel module. With this parameter you can set which slot gets assigned to a specific driver. So added the following to /etc/modprobe.d/audio.conf:
# Onboard mic
options snd slots=,,,,,,,,,,,,snd-soc-ps-mach
And voilà, this is what arecord -l now thinks of it:
$ arecord -l
**** List of CAPTURE Hardware Devices ****
card 0: Babyface2359686 [Babyface (23596862)], device 0: USB Audio [USB Audio]
  Subdevices: 1/1
  Subdevice #0: subdevice #0
card 11: ALC257 [HD-Audio Generic], device 0: ALC257 Analog [ALC257 Analog]
  Subdevices: 1/1
  Subdevice #0: subdevice #0
card 12: acp63 [acp63], device 0: DMIC capture dmic-hifi-0 []
  Subdevices: 1/1
  Subdevice #0: subdevice #0
Awesome, full control again! Everything properly named and prioritized. But how does this perform?
With my RME Babyface I can go down to 64 frames/period and 3 periods at 48kHz, so that’s a nominal latency of 4ms. And it’s rock solid at this setting:
$ ./xruncounter -m

******************** SYSTEM CHECK *********************

    Sound Playback: USB-Audio - Babyface (23596862)
     Sound Capture: USB-Audio - Babyface (23596862)
      Graphic Card: Advanced Micro Devices, Inc. [AMD/ATI] Phoenix1 (rev c7)
Operating System: Debian GNU/Linux 12 (bookworm)
          Kernel: Linux 6.6.11-1-liquorix-amd64
    Architecture: x86-64
               CPU: AMD Ryzen 7 7840HS with Radeon 780M Graphics

***************** jackd start parameter ****************

    /usr/bin/jackd -P80 -S -dalsa -dhw:Babyface2359686 -r48000 -p64 -n3 -Xseq

********************** Pulseaudio **********************

    pulse is not active

********************** Test 8 Core *********************

Samplerate is 48000Hz
Buffersize is 64
Buffer/Periods  3
jack running with realtime priority 80
Xrun 1 at DSP load 83.76% use 3.56ms from 1.33ms jack cycle time
Xrun 2 at DSP load 92.76% use 3.32ms from 1.33ms jack cycle time
Xrun 3 at DSP load 87.17% use 2.48ms from 1.33ms jack cycle time
Xrun 4 at DSP load 92.11% use 1.15ms from 1.34ms jack cycle time
Xrun 5 at DSP load 95.91% use 3.29ms from 1.33ms jack cycle time
Xrun 6 at DSP load 97.95% use 1.85ms from 1.33ms jack cycle time
in complete 6 Xruns in 16809 cycles
first Xrun happen at DSP load 83.76% in cycle 16112
process takes 3.56ms from total 1.34ms jack cycle time
On my old BTO I could go lower though, it would run at 32 frames/period and 3 periods at 48kHz with clean audio but the Lenovo is limited to 64 frames/period. If you try to go lower you will get distorted audio and the kernel ring buffer will fill up with messages like below:
[11883.067551] retire_capture_urb: 1338 callbacks suppressed
[11883.083397] xhci_hcd 0000:66:00.4: WARN Event TRB for slot 1 ep 5 with no TDs queued?
Eventually I’ll dive deeper into this but for now I’m OK with running at 64 frames/period. The onboard audio runs too at very low settings but provides way less room to do anything useful. But just about enough to run some soft synths and MIDI input. As a comparison, here’s the output of xruncounter for the onboard audio. In my case onboard audio likes period sizes higher than 3 best. And no full duplex at this setting, playback only.
$ ./xruncounter -m

******************** SYSTEM CHECK *********************

      Graphic Card: Advanced Micro Devices, Inc. [AMD/ATI] Phoenix1 (rev c7)
Operating System: Debian GNU/Linux 12 (bookworm)
          Kernel: Linux 6.6.11-1-liquorix-amd64
    Architecture: x86-64
               CPU: AMD Ryzen 7 7840HS with Radeon 780M Graphics

***************** jackd start parameter ****************

    /usr/bin/jackd -P80 -S -dalsa -dhw:ALC257 -r48000 -p32 -n6 -Xseq -P

********************** Pulseaudio **********************

    pulse is not active

********************** Test 8 Core *********************

Samplerate is 48000Hz
Buffersize is 32
Buffer/Periods  6
jack running with realtime priority 80
Xrun 1 at DSP load 97.32% use 0.40ms from 0.67ms jack cycle time
in complete 1 Xruns in 5781 cycles
first Xrun happen at DSP load 97.32% in cycle 5527
process takes 0.40ms from total 0.67ms jack cycle time
So in my opinion the Lenovo performs pretty well. I do need to run these tests on my old BTO too to find out how much performance I’ve gained. And if I could find a way to work around or find a solution for those xhci_hcd warnings so that I can go even lower then that would be terrific. It could very well be a limitation of the USB implementation of this notebook but I can live with that as it runs really stable at sub 5ms latencies.


